Hand Crafted Soap Recipe
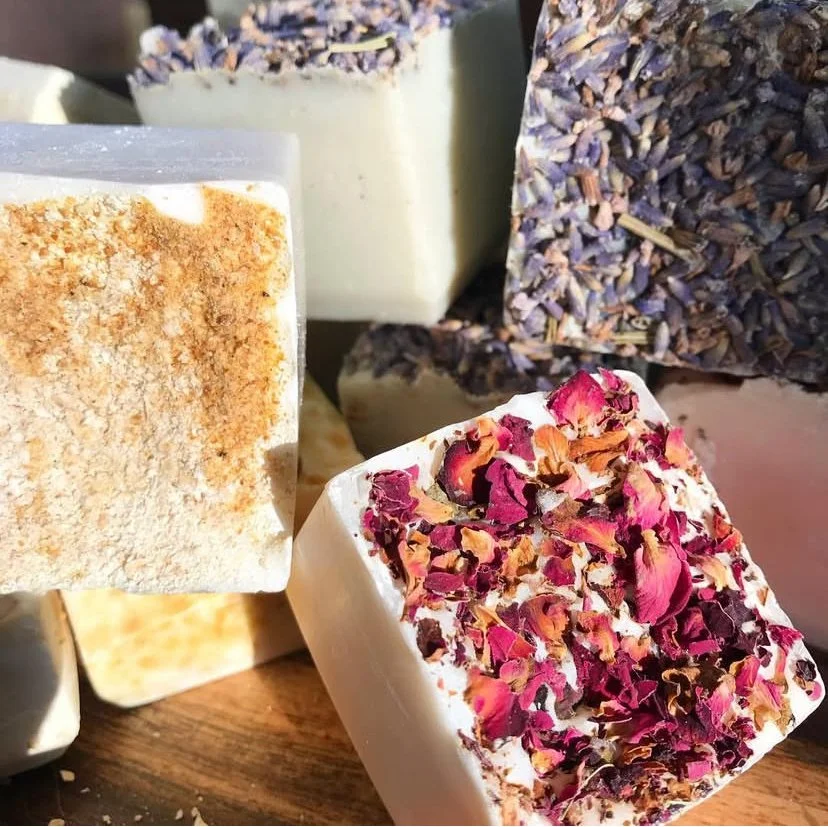
little cubes of handmade soap encrusted with rose petals lavender and ground orange
Homemade soap is a little luxury that isn’t that difficult once you get the hang of it. It’s completely customizable apart from the basic science and recipe. The possibilities are endless. Here’s a simple recipe to get you started, the equipment you’ll need, and how I make mine.
Let’s get started!
Lye is an extremely dangerous thing to work with. Especially when it is mixed with water. Always wear eye protection, rubber gloves, long sleeves, pants, and shoes for your protection. Do not make soap in the presence of children or pets!
You can use a lot of things for molds. Boxes, milk cartons, and silicone ice cube trays.
Ingredients:
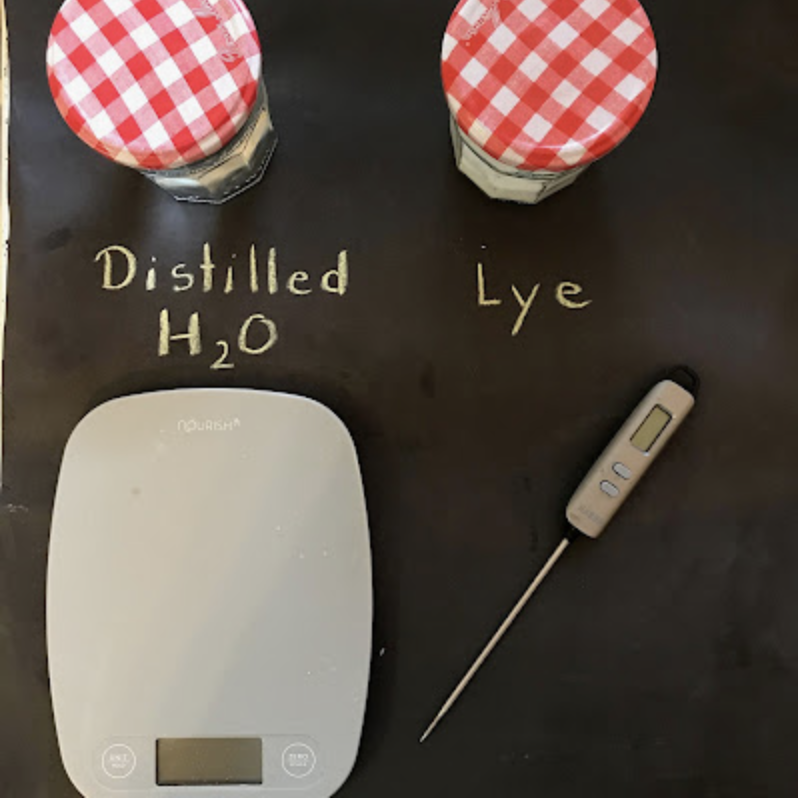
distilled water
lye
coconut oil
olive oil
shea butter
stearic acid (optional)
Equipment:
Eye protection
Rubber gloves
Digital scale
stainless steel thermometer
large glass container
large stainless steel pot
non-reactive spoon or spatula
stick blender
mold
oils or scents (optional)
color (optional)
Everything is available on Amazon including the lye. Any grocery has distilled water.
The Process:
Lye + water + oil/fat = soap
Lye (sodium hydroxide) is a salt. When the lye is combined with the oils/fats a the process that takes place is called saponification. Though lye is caustic in its original form once the saponification process is complete, no lye will be left in the finished product.
Measuring:
Because a chemical reaction is taking place is it important that you carefully measure all the ingredients. It's best not to use kitchen measuring cups or spoons for this but a digital scale.
The measurements I used for this recipe are:
16 oz. coconut oil
2 oz. olive oil
2 oz. shea butter
3.4 oz. lye
7.1 oz. distilled water
1 oz. stearic acid
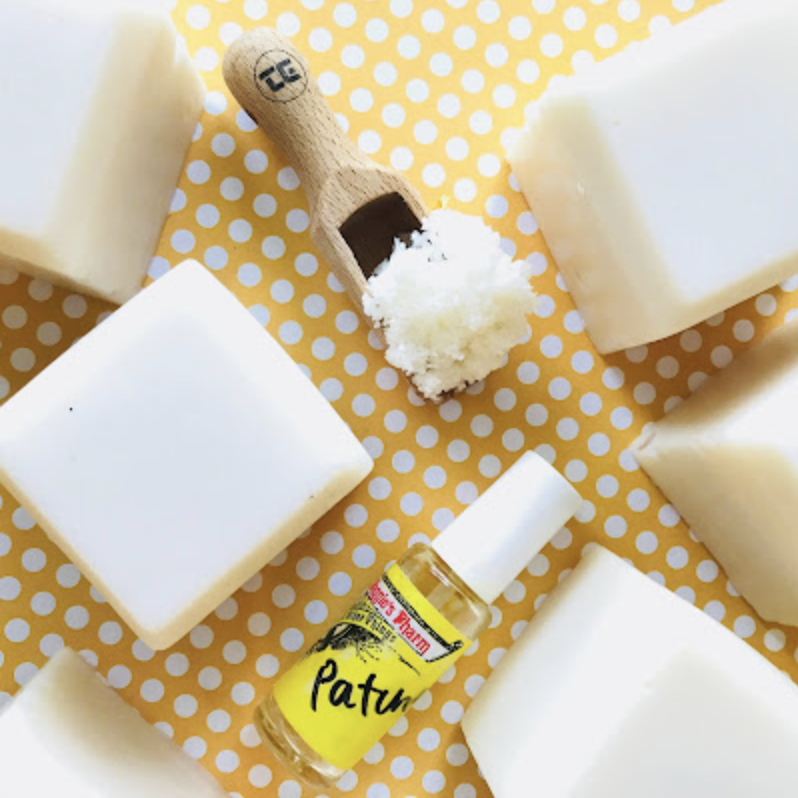
Play around with scents!
Making the soap:
Carefully and slowly add the lye to the water (never the water to the lye!!!) and stir. Let cool.
Melt the oils and fats together in a glass container in the microwave. I add the shea butter last because it can get a little grainy if overheated.
Measure the temperature of the lye mixture and the oil mixture until they have cooled to 10 degrees of each other and are both below 130 degrees.
Pour the melted oils/fats into a large stainless steel pot. Carefully (are you wearing your goggles and gloves?) pour the lye mixture into the pot and stir. Next, insert the stick blender and begin blending your soap mixture. Gently, not vigorously. You don't want to introduce air bubbles. Continue blending until you achieve "trace."
Trace is when you can see a trail where you have dragged the blender through or when you drip some soap on the surface and it doesn't immediately disappear. Add colors and scents at this point and give a quick blend then pour into your mold.
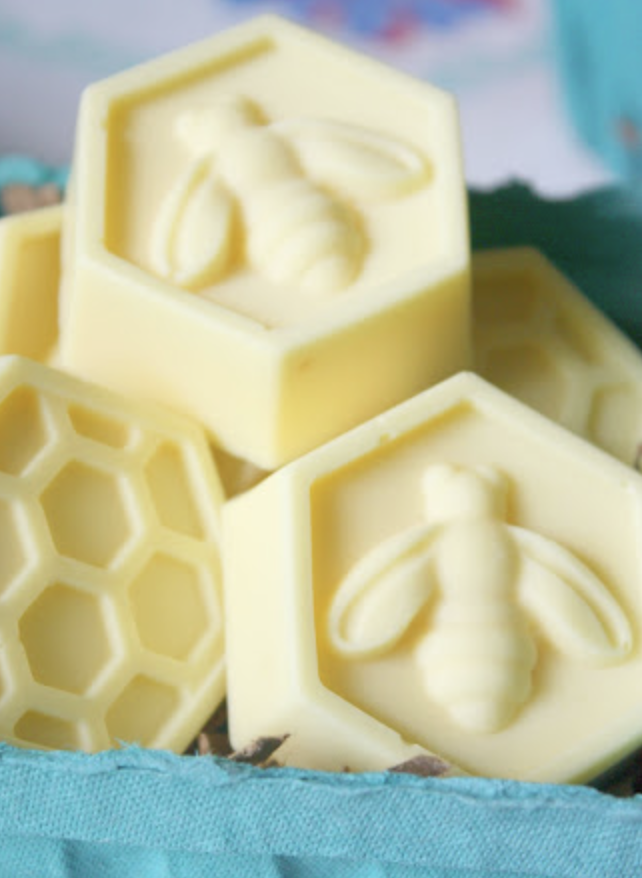
These little honeycomb soaps are made using a silicone cake pan.
If you want to put anything in it that will remain solid now is the time to do that. I like to encrust my soap with herbs or flowers. To do that just add your dried ingredients immediately after pouring it into the mold)
Cover with a towel and let cool at room temperature overnight. (Covering allows the soap to cool slowly and prevents cracking.)
The next day pop it out of the mold and cut if necessary. Place in a cool dry place with good air circulation for 3-6 weeks. The process of making soap isn't finished until it has fully cured. The word for the process that takes place during that time is soponification.
After that you’re fee to enjoy your luxurious homemade soap!